A Sticky Situation

Looking for things to do and decided that it was time for a little update again. A few posts ago around Christmas 2020 I replaced my chrome 40,000v coil to a black version. The reason then was that I had erratic starting issues and decided to change the coil just for the sake of it to see if it helped. It didn’t and the coil turned out to be fine and is now a spare just in case.

The original look was a chrome coil with the original Ford coil clamp in black.

On the coil was the Ford sticker to say what it was and add a little bit of authenticity.

I went to visit Mustang Maniac for a replacement as the pics above. I tried to peal the old label off and reuse it. But it rolled up like a toilet roll and just wouldn’t stick again.

I started to undo the clamp for the coil and lifted out the coil.

The old bolt was fine, but as my new bracket is chrome I wanted to polish the bolt with the Dremel, some nylon brush wheel and some final metal polish.

The supplied clamp was a screw head with a nice zinc finish.

My old bolt was a chrome Allen headed style and would look better.

The polished result was quite good and looked better than zinc and chrome. The new bracket was a direct replacement for the old one and bolted straight in.

The coil just drops back in and and then you can tighten the thin clamp bolt to hold it still, and then the single bolt for the bracket to the engine.

The new look is black and chrome, the old style was chrome and black.

The new sticker just needed to aligned up properly and then stuck on.

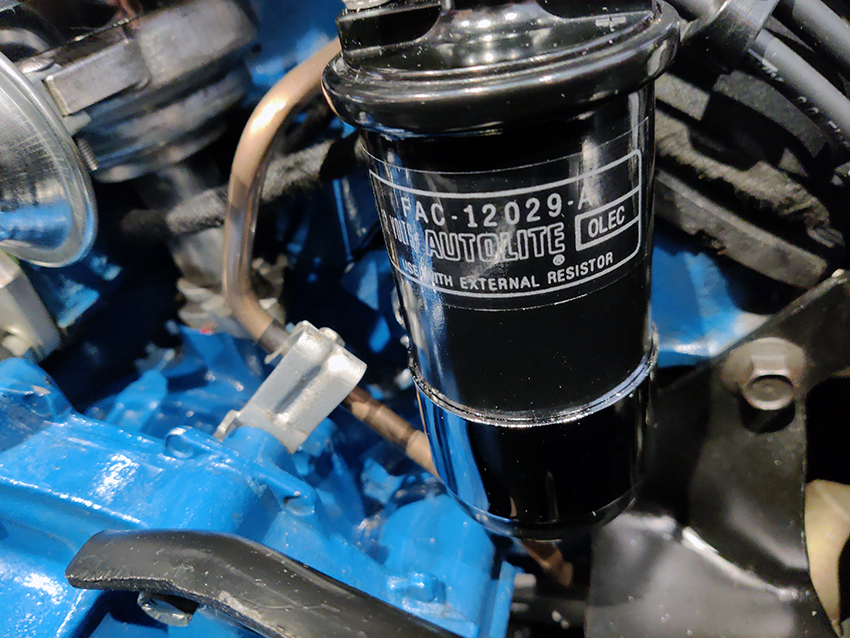
So the silvery coloured text on the black finish is more visible than the former silvery lettering on chrome.

Although the old bracket was restored and looked OK, I can’t bring myself to chuck it out now. Yes it’s old, it’s worth nothing, it’s the original, it’s pitted and not ageing very well.

The bracket will now be stored with the other old parts that have been replaced, either at the time since then. Will the chrome bracket last fifty five years like the old one? Of course it won’t, but I like the new look of black and chrome.

Bring on the car shows. We need the fresh air and to get out and about.

Share my Content

Making Head(er) Way

This weekend was going to be a little different, on the way to Mustang Maniac. A good friend of mine has been badgering me to come and look at my car and of course Adam’s collection of cars. Gary turned up on time and loaded some bits into my car. Before we even had a chance to say hello we were in our way. We had a good catch up on the way down there with the radio on, we did decide that Joy Division tracks before 9 am when Gazza hadn’t even had a coffee yet wasn’t a good idea. The journey was quicker than normal, we arrived parked up and looked for Adam. After formal introductions it was coffee and cakes time in the boys club. I spoke with Adam to see what was the plan for the day and decided that my aluminium coated headers were to go on the car then the rest of the engine parts.

I got my headers from the storage area and took them to the workshop and prepared what I needed to do. Adam kindly took Gazza out on a little “road test” in the recently completed Shelby KR tribute. I must point out at this point I wasn’t to impressed as I ain’t even been out in that one yet. Jealous? Yep. Anyway Gazza came back looking quite pleased with himself and decided he was going to help instead of having joy rides all day. Yogi and Adam came over at this point to check all was OK, the left side header was going to be a problem as the 3″ pipe was tight and not going to fit. The answer was to drop the steering ram and try to get up to the block that way. I was a lucky boy, it just and I mean only just fitted in. We were thinking that the engine may have to come back out to get them in.

header1

The spark plugs were removed and the rocker covers to give us as much space as possible to work in. We were going to try a new set of header bolts which are supposed to stop them coming undone with vibration.

As it turned out the bolts were very tight to fit in place against the pipes. We held the headers in place with a couple of the bolts each end and dropped the gaskets in place.

header5

The rest of the bolts were put in but there was an issue with cylinder five inner bolt, notoriously difficult at the best of times, but these new bolt washers were a fraction to big to fit so we had to use a standard bolt in place. Yogi left us to it and Gazza got some gloves on to tighten the bolts up before the final tightening. Just prove it Gazza hard at work, well working anyway. 🙂

With the headers in place we gapped and put the spark plugs back in. Next was the power steering pump, coil and one wire alternator. All looking rather good, but there again I would say that wouldn’t I?

alt

Adam found me the a fuel tank sender a fitted it for me, it’s a tricky job and I forgot to take photos of it as I was holding the torch. Well, that’s my excuse anyway. All in all a good day and I help too. Thanks to Adam for letting me bring a mate to his yard. Cheers Gazza for your help.

Share my Content